
I spent years staring at my reflection and hating the tiny black dots across my nose. Clogged pores made my skin look dull no matter what cleanser I bought. Store-bought masks left me red and frustrated. Then I started making a simple diy face mask to unclog pores right in my kitchen. That shift changed everything for me.
Honestly? I almost gave up on clear skin. The third expensive product I tried made my face flare up worse. See, I kept chasing fancy formulas when the real answer sat in my pantry the whole time.
I mix basic ingredients. I apply them once or twice a week. My pores look tighter. Blackheads pull out easier. Skin feels smoother under my fingers. You can do the same with stuff you already own.
Why Clogged Pores Drove Me Crazy for So Long
Pores get packed with oil, dead skin, and dirt. They turn into blackheads or those stubborn sebaceous filaments that never seem to leave. I used to scrub harder. That only made them angrier.
I learned the hard way that harsh scrubbing pushes gunk deeper. My skin barrier got weaker. Breakouts followed. Moisture left. Oil came back stronger to compensate.
The fix starts with gentle drawing power. Ingredients that absorb oil and loosen debris work better than force. I tested this on myself over months. Results showed up after three consistent weeks.
You want the same outcome. Start with clean skin every time. Warm water opens things up. Then the mask does the heavy lifting.
The Kitchen Staples That Became My Secret Weapons
I keep a short list of reliable ingredients. They pull impurities without stripping my face raw. Here is what I reach for most:
- Bentonite clay or kaolin clay: Absorbs excess sebum like a magnet. I notice tighter pores the next morning.
- Raw honey: Antibacterial and sticky enough to lift debris. It soothes while it cleans.
- Egg whites: Tighten as they dry. Great for a temporary firm look.
- Plain yogurt: Lactic acid gently dissolves dead cells. Skin feels softer after rinsing.
- Activated charcoal: Draws out deep gunk. I use this when my T-zone looks especially congested.
- Apple cider vinegar: Balances pH and helps shrink the look of pores. Always dilute it.
- Oatmeal: Mild exfoliation without the grit of harsh scrubs.
I avoid lemon juice on bare skin most days. It can make me sensitive to sun. When I do use it, I wait until night and apply sunscreen the next day without fail.
These ingredients cost almost nothing. One jar of clay lasts me months. Honey sits in my cabinet already. FYI, fresh is better than old pantry items that lost potency.
Activated charcoal can adsorb surface oil, but it cannot literally draw out deep pore contents, so visible blackheads may need a leave-on treatment.
My Top Three DIY Face Mask Recipes That Deliver
I rotate these based on how my skin feels that week. Each one targets clogged pores differently. I keep the process simple so I actually stick with it.
The Clay and Honey Puller
This is my weekly workhorse. Clay sucks out oil. Honey keeps the mask from drying too tight.
I mix one tablespoon bentonite clay with one teaspoon raw honey. I add just enough warm water to make a smooth paste. Sometimes I drop in a tiny bit of apple cider vinegar for extra clarifying power.
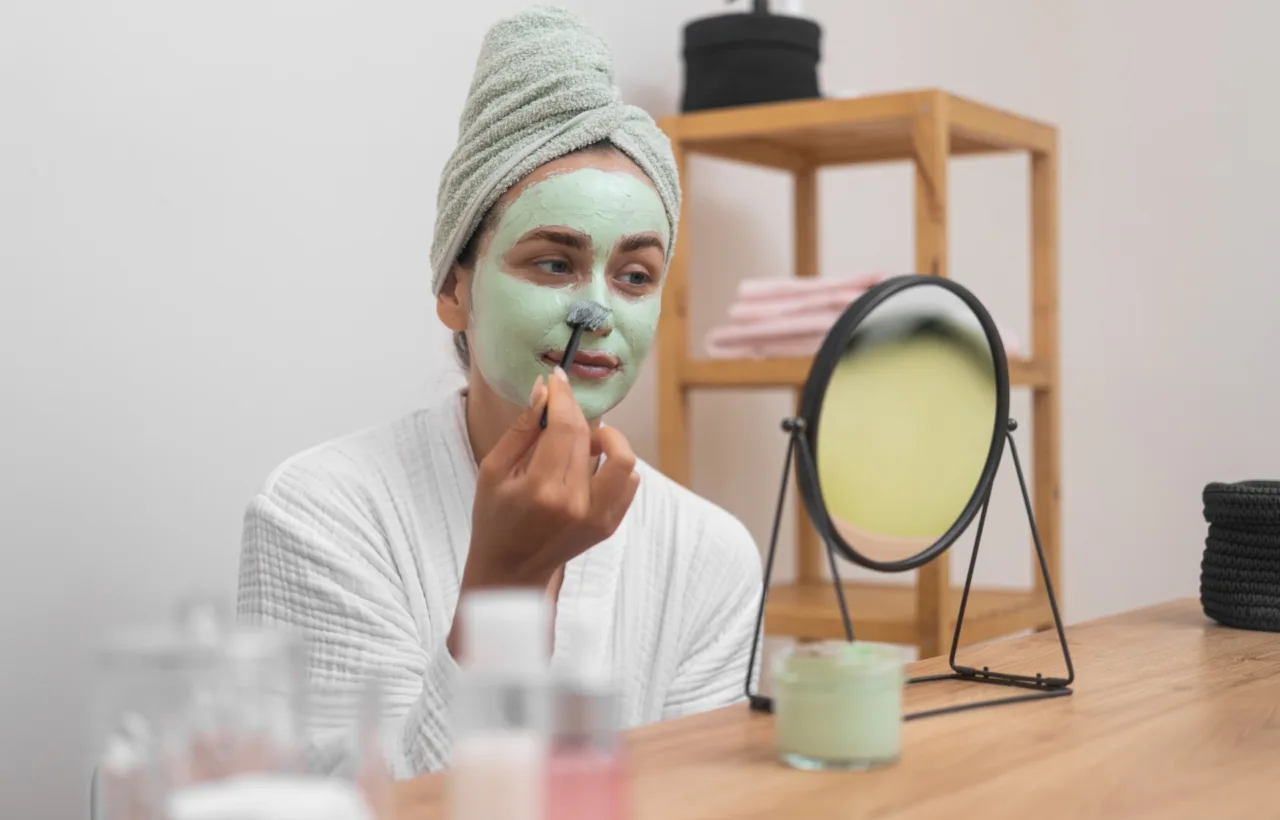
I apply a thin layer over my nose, chin, and forehead. I leave it for twelve to fifteen minutes. It starts to feel tight. That is the signal. I rinse with lukewarm water and pat dry.
My pores look smaller right away. The blackheads I could not squeeze before come out easier the next day if I still need to. I moisturize heavily after. Dryness is the enemy of long-term success.
The Egg White Tightener
I turn to this when I want a quick firm-up before an event. Egg whites dry down and lift surface debris.
I separate one egg white. I whisk it until frothy. Sometimes I stir in half a teaspoon of honey for moisture.
I brush it on with clean fingers. I focus on the nose area. After ten minutes it feels rubbery. I peel or rinse it off gently.
The temporary tightening feels satisfying. I know it does not shrink pores permanently. Still, the visual difference boosts my confidence for hours. IMO, this one pairs well with a clay mask later in the week.
The Oatmeal and Yogurt Softener
Sensitive days call for this gentler option. Oatmeal calms. Yogurt exfoliates lightly.
I grind two tablespoons of plain oats into a fine powder. I mix them with one tablespoon plain yogurt and a teaspoon of honey. The paste should feel creamy, not gritty.
I massage it on in soft circles for thirty seconds. Then I leave it for ten minutes. Rinse feels like a soft reset.
Dead skin lifts without irritation. My face looks brighter. Clogged areas feel less congested by the next morning. This mask never makes me red.
How I Apply These Masks Without Wrecking My Skin
Technique matters as much as the recipe. I ruined a few batches early on by rushing.
First I wash with a mild cleanser. I use lukewarm water only. Hot water strips too much. I pat dry. Damp skin helps the mask spread evenly.
I use clean hands or a soft brush. I avoid the eye area completely. Thin layers work better than thick globs that crack and pull.
Timing stays short. Fifteen minutes maximum for clay. Ten for egg white. I set a phone timer so I do not forget.
Rinse with gentle circular motions. That adds light exfoliation. Cold water at the end closes everything down. Then moisturizer locks in the work.
I do this at night. Skin repairs while I sleep. Morning light shows the difference.
Patch test every new mix. I swipe a bit on my inner arm first. Wait a full day. No redness means I can move to my face.
Cold water cannot close pores permanently; pores lack muscles. Use it for comfort, but rely on gentle rinsing and moisturizer after masking.
Common Mistakes I Made and How You Can Skip Them
I overdid frequency once. Three clay masks in one week left my skin tight and flaky. Once or twice a week is plenty.
I used metal bowls with bentonite clay. It reacted and lost power. Now I stick to glass or ceramic only.
I skipped moisturizer after. Pores bounced right back with extra oil. Hydration after cleansing keeps the barrier strong.
I expected overnight miracles. Real clearing takes consistent weeks. Patience paid off for me. Skin texture improved gradually. Blackheads appeared less often.
Sun protection stays non-negotiable. Some ingredients increase sensitivity. I apply SPF every single morning now.
Building a Routine That Sticks Long Term
Masks alone do not solve everything. I pair them with daily habits that keep pores clearer between treatments.
I double cleanse at night when I wear sunscreen or makeup. Oil cleanser first. Gentle foam second. That removes the surface layer so the mask can reach deeper.
I avoid heavy creams on my T-zone. Lightweight gel moisturizers work better for me. Oil-free formulas prevent new clogs.
I change pillowcases twice a week. Dirty fabric transfers oil and bacteria straight back onto clean skin.
I drink more water. It sounds basic. Dehydrated skin produces more oil. My face stays balanced when I stay hydrated.
These small steps compound. The diy face mask to unclog pores works harder when the rest of my routine supports it.
Keep mask nights separate from strong exfoliants or retinoids, especially after double cleansing, to reduce cumulative irritation around the T-zone.
Frequently Asked Questions
How often should I use a diy face mask to unclog pores? I stick to once or twice a week max. More than that risks barrier damage. Listen to your skin. If it feels tight the next day, space the sessions further apart.
Can these masks replace professional extractions? They help a lot for mild congestion. Stubborn deep blackheads still need a trained aesthetician sometimes. I use masks to maintain between visits.
What if my skin is sensitive or dry? Start with the oatmeal yogurt version. Skip clay or charcoal until you know your tolerance. Always follow with a rich moisturizer.
Do I need special tools? No. A small glass bowl, a spoon, and clean hands cover it. A soft brush feels nicer but is optional.
Will these shrink my pores permanently? Pores do not actually shrink in size. They look smaller when clean and free of buildup. Consistent care keeps that cleaner look going.
Final Thoughts from My Kitchen Sink Experiments
I stopped buying tube after tube of pore masks that promised the world. My homemade versions cost pennies and perform better for my skin. Consistency beats perfection every time.
Mix one tonight. Start with the clay and honey. Feel the difference tomorrow. Keep notes on what your face responds to. Adjust as needed.
Clearer pores feel possible again. I proved it to myself. You can too.