I spent years staring at the same sliding door closet and feeling defeated. Clothes jammed together. Shoes buried under a heap of forgotten bags. Every morning started with a frustrated dig through the mess. I knew the space could work better. I just needed real solutions that respected how sliding doors actually open and close.
After testing what stuck and what flopped in my own closet, I landed on 15 sliding door closet organization ideas that actually keep things tidy. These are the ones I still use. No fancy overhauls required. Just practical moves that fit the limited access and track system most of us deal with.
See, the biggest mistake I made early on was treating a sliding door closet like a regular one. You only get one side open at a time. Depth gets tight fast. Anything that sticks out too far or needs a full swing becomes a daily irritation. Once I accepted those limits, the good ideas started working.
Why Sliding Door Closets Need Their Own Rules
I used to blame myself for the clutter. Honestly? The closet design was working against me. Sliding doors hide messes easily. They also limit how far you can reach into the corners without constant door shuffling.
My breakthrough came when I stopped forcing swinging-door solutions into a sliding setup. I measured the clear opening with both doors pushed as far as they would go. I noted the track clearance. Then I chose organizers that stayed inside those lines.
That shift alone cut my daily frustration in half. You can do the same. Grab a tape measure first. Write down the width, depth, and height of the usable space. Keep those numbers in your phone. Every purchase after that gets easier.
15 Sliding Door Closet Organization Ideas That Changed Everything for Me
Here are the exact moves I made, in the order that made the biggest difference. Some cost almost nothing. Others needed a short shopping trip. All of them respect the way sliding doors move.
1. Double Hanging Rods for Short Items
I installed a second rod below the main one. Shirts and pants now hang on two levels instead of fighting for the same rail. The top rod holds button-downs and light jackets. The lower one takes pants and skirts.
This one change roughly doubled my hanging capacity without adding floor clutter. I bought an adjustable extender that hooks onto the existing rod. Installation took ten minutes. No tools beyond a step stool.
2. Matching Slim Hangers Across the Board
I tossed every thick plastic hanger I owned. Velvet slim hangers went in their place. The difference showed up immediately. Clothes sit closer together without bunching. The whole rod looks intentional instead of chaotic.
IMO, this is the cheapest visual upgrade you can make. The uniform look also makes it harder to ignore when something no longer fits or looks worn out. I now edit faster because the clutter has nowhere to hide.
3. Shallow Fabric Bins on the Bottom Shelf
Deep bins force you to dig. Shallow ones let you see everything at a glance. I lined the bottom shelf with three identical fabric bins. One holds folded tees. One holds workout clothes. One holds accessories I reach for often.
Labels matter here. I used simple removable tags so I could change categories later. The bins stay put because I added non-slip liner underneath. No more sliding chaos every time I pull one out.
4. Motion-Sensor LED Lighting
My closet used to feel like a cave. I stuck a slim motion-sensor light strip under the top shelf. Now the light comes on the second I open the door. I can see what I own instead of guessing.
This single addition made me put things back more carefully. When everything is visible, the mess becomes harder to ignore. Battery-powered versions work fine if you do not want to deal with wiring.
5. Over-the-Door Organizers on the Inside Panels
I hung narrow pocket organizers on the inside of each sliding panel. Scarves, belts, and jewelry live there now. The key is choosing slim designs that do not catch on the opposite door when they pass.
FYI, measure the thickness of your doors first. Most standard over-the-door hooks fit, but some thicker models jam the track. I went with a low-profile version and never looked back.
6. Freestanding Garment Rack for Overflow
When the built-in space maxed out, I rolled in a sturdy freestanding rack. It sits toward the back wall where the doors still clear it. Extra coats and seasonal pieces hang there without crowding the main rods.
Look for models with adjustable shelves and solid metal frames. The ones that wobble become more trouble than they are worth. Mine has held up through two moves so far.
7. Color-Coded Sections for Everyday Clothes
I grouped everything by color once the hanging space was sorted. Blues together. Neutrals together. Patterns at the end. Finding a specific shirt stopped taking three minutes.
This method works especially well with sliding doors because you only see one section at a time. The rainbow effect still feels satisfying when both doors are open. It also makes laundry day faster. Dirty items go back to their color zone without thinking.
8. Seasonal Rotation with Vacuum Bags
Out-of-season clothes used to eat half my space. I packed them into vacuum bags and stored them on the highest shelf or under the bed. Twice a year I swap the bags.
The process takes one afternoon. The payoff lasts months. My everyday section stays light and usable. I no longer dig past winter coats in July.
9. Vertical Stacking for Rarely Used Items
The top third of the closet held empty air for years. I added stackable bins up there for luggage, extra bedding, and holiday storage. A small step stool lives nearby so I can reach without drama.
Label every bin on the front and the side. You will thank yourself later when the doors are only halfway open and you still need to identify what is inside.
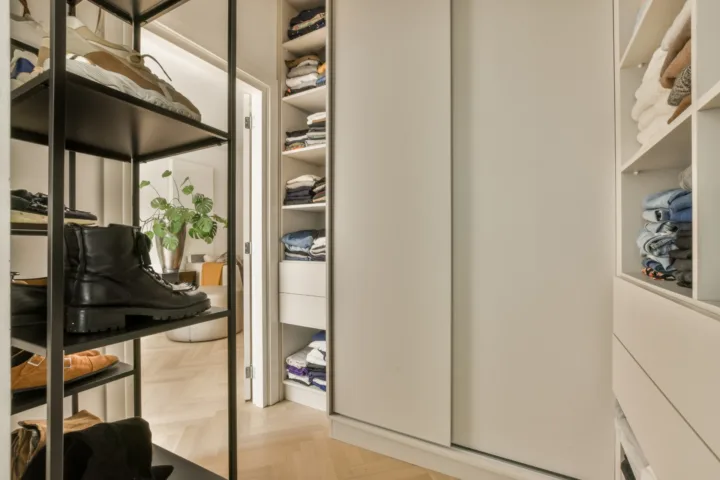
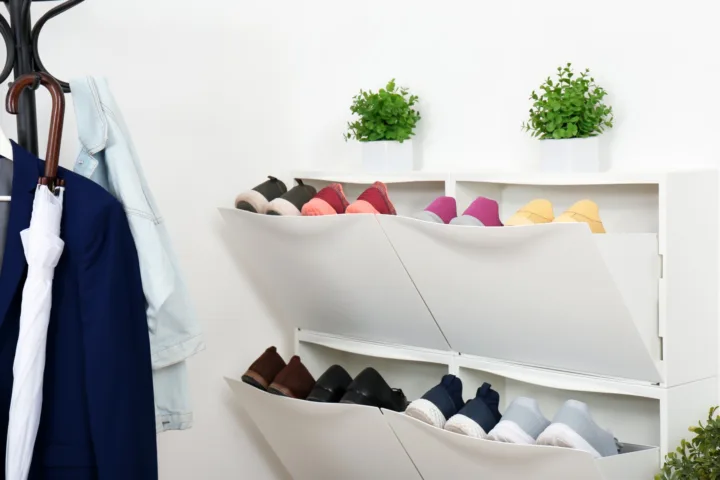
10. Clear Shoe Cubbies on the Floor
Shoes used to form a pile that blocked the lower rod. I switched to clear stackable cubbies. Each pair has its own spot. I can see the style and color without pulling everything out.
Keep the cubbies low enough that the sliding doors clear them. Measure twice. Some models sit too tall and catch the bottom track. Mine sit flush and still leave walking space.
11. Category Zones Instead of Random Piles
I assigned every category a fixed home. Work clothes on the left. Weekend clothes in the center. Formal pieces on the right. Accessories hang near the door I open most often.
The system only works if you commit. The first week felt rigid. By week three it became automatic. Now I can get dressed with the doors half-open and still find what I need.
12. Hooks for Bags and Hats
A few strong hooks on the side wall hold the bags I use weekly. Hats sit on a simple rack above them. Nothing ends up on the floor or buried under clothes.
Choose hooks that mount with screws or heavy-duty adhesive rated for the weight. Sliding doors create some lateral movement over time. Cheap hooks eventually pull free.
13. Pull-Out Baskets for Folded Items
I replaced one fixed shelf with a set of pull-out wire baskets. Socks, underwear, and folded jeans live inside. I can slide the whole basket forward instead of reaching into a dark corner.
Make sure the baskets travel perpendicular to the door path. Anything that sticks out sideways will block the slide. Test the full range of motion before you load them up.
14. Mirror Panels on the Doors Themselves
I added lightweight mirror panels to the front of the sliding doors. The room feels brighter. Getting dressed became easier because I no longer need a separate full-length mirror.
Choose thin mirrors designed for doors. Heavy glass can strain the track over time. The reflective surface also makes the closet area feel less closed in.
15. Regular Editing Sessions
The best organizer in the world fails if you never remove what you no longer use. Every three months I pull everything out for a quick review. Anything that has not been worn in a year leaves the closet.
I keep a donation bag right by the door during these sessions. The rule is simple. If it does not earn its space, it goes. This habit keeps the other fourteen ideas working long-term.
How I Keep the System from Falling Apart
Organization only lasts if the daily habits support it. I follow three rules that take almost no time.
First, I put things back the same day I use them. No “I’ll deal with it later” piles. Second, I never buy a new organizer until I have measured the exact spot it will live. Third, I do a five-minute reset every Sunday evening. That short check prevents the slow slide back into chaos.
These rules sound basic. They are. They also work.
Common Mistakes I Made So You Do Not Have To
I bought oversized freestanding units that blocked the doors. I hung thick organizers that caught every time the panels passed. I stacked bins so high I needed a chair to reach the top ones.
Each mistake taught me the same lesson. Respect the sliding mechanism. Keep profiles slim. Leave clearance at the track. Measure before you buy. Your future self will thank you.
Frequently Asked Questions
Do over-the-door organizers work with sliding doors? Yes, as long as you choose slim designs and hang them on the inside panels. Measure door thickness and test the full slide path before loading them with heavy items.
How do I maximize space in a small sliding door closet? Focus on vertical solutions: double rods, shallow bins, and slim hangers. Keep the floor mostly clear so the doors can move freely. These 15 sliding door closet organization ideas prioritize height over width for that reason.
Should I use freestanding racks inside a sliding closet? They work well if you place them toward the back wall and confirm the doors still clear them. Choose sturdy metal frames over flimsy ones that tip when loaded.
What is the fastest upgrade for a messy sliding closet? Switch to matching slim hangers and add motion-sensor lighting. Both changes take under an hour and make the space feel completely different.
How often should I reorganize? A full edit every three months keeps the system working. A five-minute weekly reset prevents small messes from growing.
I still open my closet every morning and feel a quiet sense of relief. The chaos is gone. The system holds. These ideas did not require a full remodel or a big budget. They just required paying attention to how sliding doors actually behave and choosing tools that work with that reality instead of against it.
Start with the double rods and the slim hangers. Those two alone will change how the space feels. Then add the next idea that solves your biggest daily frustration. One step at a time turns a source of stress into a space that actually serves you.