I spent years shoving clothes into my tiny closet and praying nothing fell out. That stopped the day I hunted down 19 small closet organization ideas diy style and put them to work. Honestly? My closet went from chaos to calm in one weekend. I live in a small apartment with a reach-in closet that measures barely three feet wide. It used to swallow everything and spit it back in a crumpled heap. I tried the usual advice. Nothing stuck until I treated the space like a puzzle I could actually solve myself. These ideas cost little, need basic tools or none at all, and deliver real results. I still use most of them every day.
See, the real problem is never the square footage. It is the single rod and single shelf most of these closets come with. That setup wastes nearly half the usable volume. I fixed that by working the height, the door, the walls, and the floor in deliberate order. Below I walk through every step I took. You can copy them in an afternoon.
Start by Clearing Everything Out
I always begin the same way. I pull every single item onto the bed. Shoes. Bags. That mystery box on the top shelf. Everything. It looks worse for about twenty minutes. Then the closet becomes a blank box I can measure and plan.
I sort into four piles: keep, donate, sell, trash. Anything I have not worn in a year goes. I used to keep “just in case” pieces. They only collected dust. Now the keep pile is honest. FYI, this step alone opened up enough room for two full extra rows of hanging clothes.
Upgrade the Hanging System First
Hanging space is the backbone. I attacked it hard.
1. Switch to Slim Velvet Hangers
Bulky plastic hangers steal inches. Slim velvet ones take less than half the width. I bought a fifty-pack for under twenty dollars. Clothes stop sliding off. The rod suddenly holds almost twice as many pieces. Matching hangers also make the whole closet look intentional instead of chaotic.
2. Add a Second Hanging Rod
This is the biggest single upgrade. I installed an adjustable double-rod kit that clamps onto the existing one. Top rod for shirts and jackets. Bottom rod for pants and skirts. No drilling required in my rental. Capacity doubled overnight. I keep longer dresses on one side only so they hang free.
3. Use a Tension Rod for Extra Vertical Layers
I stuck a tension rod along the side wall. Scarves and belts now hang there instead of taking shelf space. Another tension rod under the main rod holds short items on the far side. Cheap and removable.
4. Try the Chain Hanger Hack
I looped a short plastic chain from an S-hook on the main rod. Multiple shirts hang vertically from the links. It frees horizontal rod space for bulkier pieces. Spray paint the chain if you want it to disappear.
Make the Shelves Work Harder
Shelves used to be a landslide of sweaters. I changed that.
5. Install Shelf Dividers
Clear acrylic dividers slide between stacks. Sweaters stay upright. I can pull one without toppling the rest. A set of six cost about twelve dollars. They work on any standard shelf depth.
6. Add Freestanding or Wall-Mounted Extra Shelves
I cut two simple pine boards and rested them on L-brackets higher up. Seasonal items live there now. No more ladder needed for everyday clothes. If you rent, use freestanding cube shelves that fit the width exactly.
7. File-Fold Everything on Shelves
I fold T-shirts, jeans, and sweaters the vertical way. Edges face forward. I see every item at a glance. Stacks stay neat longer. It feels fussy the first time. After that it becomes muscle memory.
8. Use Matching Fabric Bins
Open bins look messy fast. I chose identical fabric ones with labels. Socks, underwear, workout gear, and accessories each get a home. Labels keep me honest when I am tired and tempted to shove things anywhere.
Conquer the Closet Door
The door is pure free real estate. I ignored it for years. That was a mistake.
9. Hang an Over-the-Door Shoe Organizer
Clear pocket versions hold twenty-four to thirty-six pairs without touching the floor. I put flats and sneakers in the lower pockets. Heels go higher so they stay visible. Floor space opened up immediately.
10. Mount Hooks or a Pegboard on the Door
I screwed simple hooks into the back of the door for bags, hats, and robes. A small wooden pegboard works even better if you want to rearrange often. Accessories stay off the shelves and off the floor.
11. Add a Towel Bar for Scarves and Belts
An inexpensive towel bar screwed sideways turns into a perfect scarf rail. Belts hang from the same bar. No more tangled pile on a shelf.
Fix the Floor Zone
The floor used to be a shoe graveyard. Not anymore.
12. Bring in a Slim Three-Tier Shoe Rack
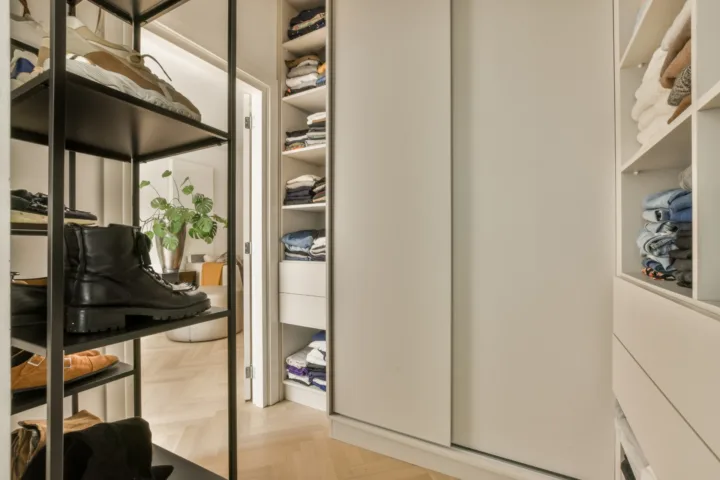
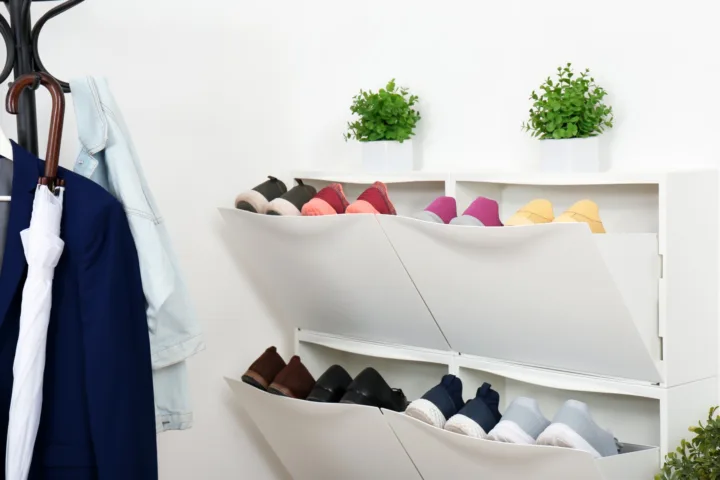
One narrow metal rack holds nine to twelve pairs in the footprint of three pairs left flat. I keep everyday shoes here. Seasonal pairs move to clear boxes on the top shelf.
13. Stack Clear Shoe Boxes
I bought a dozen clear plastic boxes. Each pair has its own home. Labels on the short end tell me what is inside without opening them. They stack neatly under the hanging clothes.
14. Use a Small Rolling Cart or Drawer Unit
A narrow fabric drawer tower slides under the short-hang section. Folded gym clothes and pajamas live there. I can pull the whole unit out when I need to reach the back wall.
Wall and Accessory Solutions
Every vertical surface counts.
15. Mount Wall Hooks Inside the Closet
Three sturdy hooks on the side wall hold purses by the straps. S-hooks work for hanging jeans by the belt loop. Bags stop crushing each other.
16. Install a Simple Pegboard Panel
I hung a small pegboard on the free side wall. Hooks and small shelves rearrange as needed. Jewelry, sunglasses, and small bags all live here now. It looks intentional instead of cluttered.
17. Create a Mini Jewelry Station
A magnetic strip or a small hanging organizer on the door keeps necklaces from tangling. I used to lose half my jewelry in the bottom of drawers. This fixed it.
Bonus DIY Touches That Seal the Deal
18. Build Basic Wooden Shelves Yourself
I cut three shelves from a single pine board at the hardware store. Brackets and a level did the rest. Total cost under thirty dollars. They hold bins and folded stacks perfectly. If you can measure and screw, you can do this.
19. Label Everything and Keep a Valet Spot
I stick simple labels on bins and shelves. A short retractable valet rod (or even a sturdy hook) lets me hang tomorrow’s outfit the night before. Mornings got quieter. The whole system stays intact because every item has a named home.
These nineteen moves turned my closet into something I actually enjoy opening. I did not buy a full custom system. I spent under one hundred fifty dollars total and one full Saturday. The biggest surprise was how much mental space opened up. Finding an outfit takes thirty seconds now instead of five frustrated minutes.
Frequently Asked Questions
How do I start with 19 small closet organization ideas diy if my budget is tiny? Start with the free steps: purge, file-fold, and rearrange what you already own. Then buy only the slim hangers and one over-the-door organizer. Those two purchases deliver the biggest visible win for the least money.
Do these ideas work in a rental with no drilling allowed? Yes. Tension rods, over-the-door organizers, freestanding shelves, and command hooks handle almost everything. I used zero permanent screws in my first apartment version.
What is the single most effective change for a small closet? Adding the second hanging rod. It doubles capacity without shrinking floor space. Pair it with slim hangers and you feel the difference the same day.
How often should I reorganize after setting this up? I do a quick ten-minute tidy every Sunday and a full reset twice a year when seasons change. The system holds itself together between those points.
Can I mix DIY pieces with store-bought organizers? Absolutely. My current setup is half homemade shelves and half bought bins and hangers. Consistency in color keeps it looking calm even when the pieces come from different places.
I still smile every time I open the door. The old version of me would not recognize this closet. You do not need a walk-in or a big budget. You need a clear plan and the willingness to empty the space once. Pick three of these ideas this weekend. Add more next week. Your future self will thank you when the morning rush feels lighter.