My bedroom closet used to swallow everything I owned and spit chaos back at me every morning. Clothes piled on the floor. Shoes vanished into the black hole at the back. I spent years shoving things in and hoping for the best. Then I got serious about 15 bedroom closet organization ideas diy projects that actually fit my space and my budget. These fixes turned the mess into something I can open without cringing.
I tried store-bought systems first. Most felt overpriced or too rigid. So I started building and adapting things myself. Some took an afternoon. Others needed a weekend and a trip to the hardware store. Every single one earned its keep. Here’s exactly what worked for me.
Clearing the Deck Before Any Building Begins
I used to skip this part. Big mistake. You cannot organize clutter. You just rearrange it.
I pulled every item out. Every single one. Laid it on the bed and the floor. Then I sorted into keep, donate, and toss piles. Anything I had not worn in a year went. Sentimental pieces got a hard look. Most left the house. The keep pile felt smaller and lighter right away.
Honestly? That purge alone made the closet feel twice as big. Do this first. Everything else builds on it.
Double Up the Hanging Rods
One rod wastes half the vertical space. I added a second rod below the original one in my reach-in closet.
I measured the height of my shirts and jackets. Installed the lower rod about 40 inches from the floor. Used simple brackets and a sturdy wooden rod from the hardware store. Total cost stayed under $20.
Now short items hang on the bottom. Longer pieces stay up top. I gained a whole new row of hanging space. Shirts no longer fight with dresses for room. This one change fixed the daily morning scramble.
Switch to Slim Velvet Hangers
Thick plastic hangers eat space. I replaced every one with slim velvet versions.
They grip clothes better. Nothing slips off. They take up maybe a quarter of the room the old ones did. I bought a bulk pack online. Swapped them out in one evening while a podcast played.
The difference showed up immediately. I could fit more pieces without crowding. The closet looked calmer too. Matching hangers create that clean visual line I never knew I needed.
Build Simple DIY Shelves From Plywood
The single shelf above the rod never held enough. I cut plywood to fit the depth of my closet and added two more shelves.
I used ¾-inch plywood. Cut the pieces to the exact width of the closet. Supported them with L-brackets screwed into the side walls. Painted everything white to match the existing trim.
These shelves now hold folded sweaters, jeans, and bins of accessories. I keep daily items at eye level. Seasonal stuff goes higher. The wood feels solid. No more sagging wire shelves.
Add Shelf Dividers for Stacked Clothes
Sweaters used to topple the second I touched one. I slipped in acrylic shelf dividers.
They create neat vertical walls between stacks. I bought a set of six for under $15. Placed them every few piles. Now I can pull one sweater without bringing the whole stack down.
This tiny tool keeps the shelves looking intentional instead of chaotic. I wish I had done it years earlier.
Install an Over-the-Door Organizer
The back of the closet door stayed empty for too long. I hung a multi-pocket organizer there.
Mine has clear pockets for scarves, belts, and small bags. I also use a few hooks for next-day outfits. Installation took two minutes. No tools needed beyond hanging it over the top of the door.
Suddenly I had storage that did not steal any floor or rod space. Accessories stopped vanishing into drawers. FYI, this works especially well if your closet door swings open fully.
Create Zones by How You Actually Dress
I used to group by clothing type only. That felt logical until I realized I grab outfits, not categories.
I divided the closet into zones: work clothes on the left, casual in the middle, special occasion on the right. Shoes and bags sit near the outfits they belong with.
This setup matches real life. I stop hunting across the whole closet. Getting dressed takes less time and fewer decisions. IMO, zones beat pure color coding for daily function.
Build a Basic Drawer Unit From Scratch
I needed drawers but did not want to buy a full system. I built a simple three-drawer unit from leftover plywood and drawer slides.
I measured the space under the lower hanging rod. Cut the box sides and fronts. Installed basic metal slides. Added simple knobs. The whole thing cost less than $40 in materials.
Now socks, underwear, and small accessories live in their own homes. No more digging through baskets on the floor. The unit slides right into the empty space and looks built-in.
Use Labeled Bins for Everything Else
Loose items create visual noise. I bought matching fabric bins in neutral colors and labeled every one.
One holds winter hats and gloves. Another keeps workout clothes. A third stores extra hangers and cleaning supplies. I used a cheap label maker so the text stays clear.
Labels remove the guessing. Anyone in the house can put things back correctly. The bins stack neatly on the upper shelves without looking messy.
Maximize the Floor With a Slim Shoe Rack
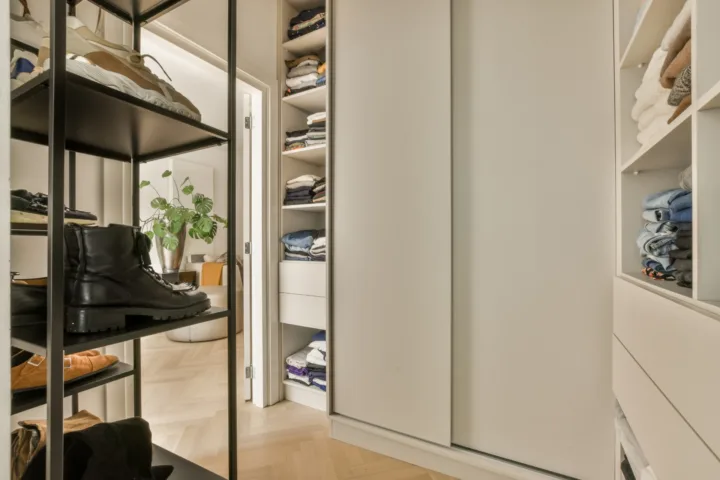
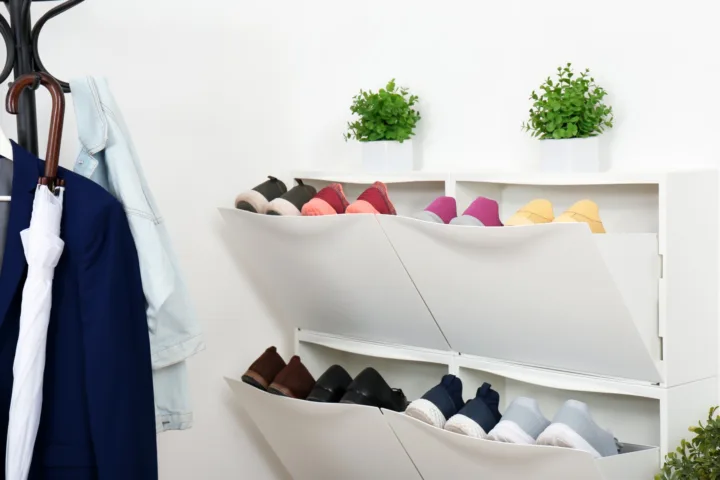
Shoes used to live in a jumbled pile. I added a narrow freestanding shoe rack that fits the depth of the closet.
Mine has three tiers. It holds about a dozen pairs without blocking the hanging clothes. I keep everyday shoes on the bottom for easy grab. Dressier pairs sit higher.
This stopped the daily hunt under hanging clothes. The floor stays clear enough to vacuum. Small change. Big daily payoff.
Hang Hooks for Bags and Belts
Empty wall space inside the closet begged for use. I screwed in a row of sturdy hooks along one side wall.
Bags hang there instead of getting crushed on shelves. Belts and scarves get their own hooks too. I chose hooks with a slight curve so nothing slips off.
Everything stays visible and ready. No more opening a bin to find the right bag. The hooks cost almost nothing and install in minutes.
Try an IKEA Hack for Custom Feel
I wanted more structure without custom pricing. I used two IKEA Billy bookcases side by side inside a larger closet.
I removed the back panels for better air flow. Added extra shelves. Painted the whole thing to match the closet walls. Hung a rod across the open middle section.
The result looks custom. Drawers and shelves fit my exact needs. Total spend stayed under $200. I still smile every time I open the door.
Add Simple LED Strip Lighting
Dark closets hide clothes. I stuck battery-powered LED strips under the top shelf and along the side walls.
They turn on with a remote or motion sensor. Suddenly I can see the back of every shelf. Colors look accurate. I stop pulling the wrong shirt by accident.
Installation required no wiring. The strips stick on and last months on batteries. Lighting changed how usable the whole space feels.
Build a Temporary Seasonal Storage Shelf
Out-of-season clothes used to clog the main rods. I added a high shelf just for them.
I used the same plywood method as the lower shelves. Placed it near the ceiling. Stored winter coats and heavy sweaters in vacuum bags up there during warmer months.
When the season changes I swap everything down. The main hanging space stays light and relevant year-round. This keeps the daily closet from feeling overloaded.
Finish With a Full Mirror on the Door or Wall
I needed a way to check outfits without leaving the closet area. I hung a full-length mirror on the inside of the closet door.
It serves double duty. I see the full look. The mirror also makes the small space feel larger. Installation used basic adhesive strips that hold strong.
Now I finish getting dressed right there. No more running to the bathroom mirror with half an outfit on. Small detail. Big difference in how the space works.
Frequently Asked Questions
What are the best 15 bedroom closet organization ideas diy for a small reach-in closet? Focus on double rods, slim hangers, over-the-door storage, and vertical shelves. These give the biggest capacity boost without needing extra floor space.
How much do most of these DIY projects cost? Most stay under $50 each if you already have basic tools. The plywood shelves and drawer unit ran me about $40 combined. Bigger hacks like the IKEA setup cost more but still beat custom systems.
Do I need special tools for these ideas? A drill, screwdriver, measuring tape, and saw handle almost everything. Many projects need nothing more than hooks or adhesive strips.
How long does it take to finish a full closet redo? The purge and hanger swap take one afternoon. Building shelves and drawers needs a weekend. Spread the projects out if that feels better. Progress still counts.
Will these ideas work in a rental where I cannot drill much? Yes. Stick to over-the-door organizers, freestanding racks, tension rods, and adhesive hooks. You can still transform the space without permanent changes.
I started with a closet that made me late every morning. Now I open the door and everything has a clear place. The double rods and slim hangers alone cut my dressing time in half. The zones and labels keep it that way even when life gets busy.
Pick one idea this weekend. Start with the purge if nothing else. Then add the double rod or the door organizer. Watch the space change. You will feel the difference every single morning. Your future self will thank you when the closet finally works with you instead of against you.