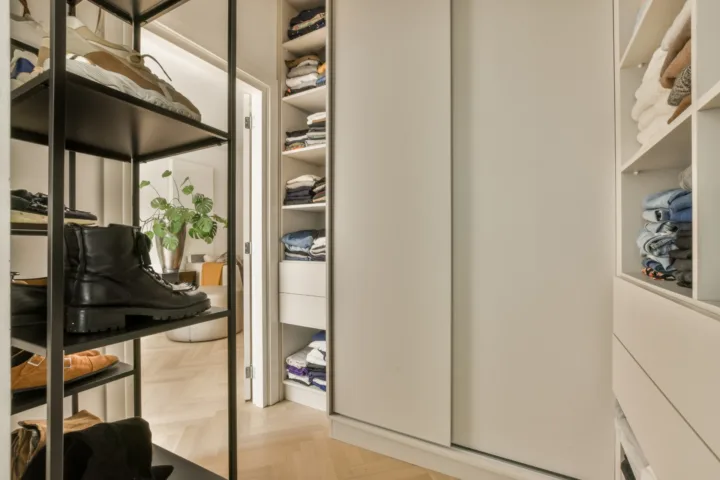
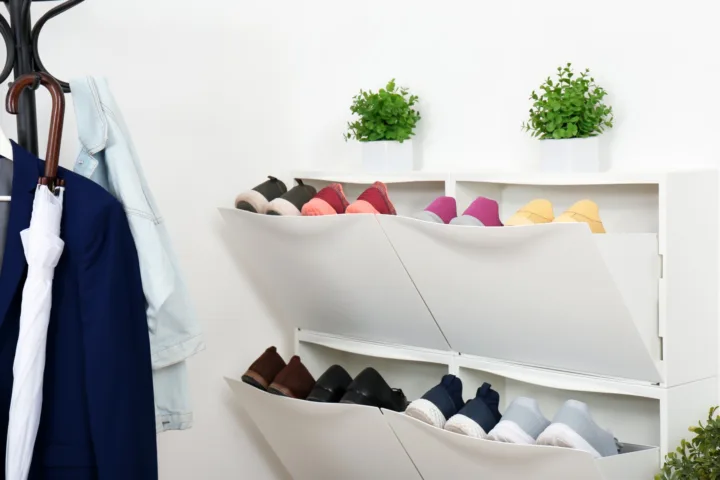
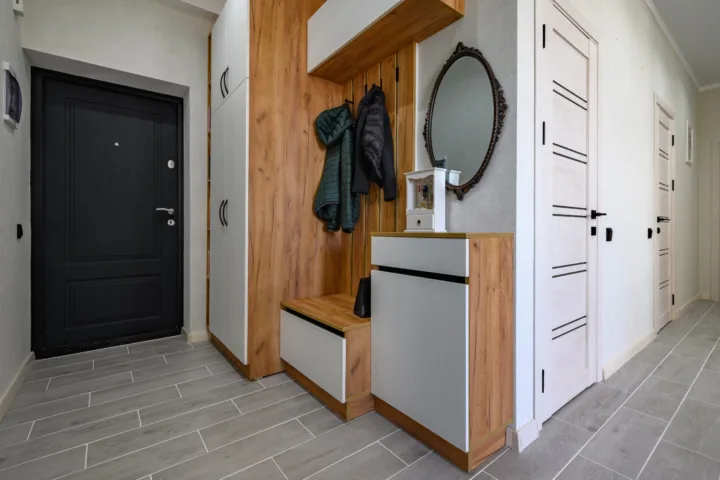
I turned my tiny walk-in closet from a daily frustration into a space that finally makes sense. For years I shoved clothes in, yanked them out wrinkled, and pretended the floor full of shoes was temporary. Then I got serious about 16 small walk in closet organization diy budget storage ideas and spent under a hundred bucks total. Everything changed.
I measured. I purged. I hunted dollar-store finds and Amazon basics. Now I open the door and feel calm instead of defeated. You can do the same without custom systems or a contractor.
Honestly? Most people overcomplicate this. You do not need fancy built-ins. You need smart vertical moves, cheap containers, and a little ruthlessness with what stays.
Why Small Walk-In Closets Feel Impossible at First
I used to think my closet was the problem. It was narrow, maybe five feet wide and six feet deep. One rod. One shelf. Classic.
See, the real issue is wasted air. Most of us hang everything on that single rod and leave the rest empty. Floor space vanishes under shoes. Top shelves collect mystery bags. Doors stay bare.
I measured mine twice. Then I mapped zones: hanging for daily clothes, shelves for folded stacks, door for accessories, high spots for off-season. That mental map guided every purchase. No more random buys.
Budget stayed tight. I set a hard limit of $80 and hit $72. Everything came from Target, Amazon, the dollar store, or stuff I already owned.
The 16 Small Walk-In Closet Organization DIY Budget Storage Ideas I Used
I tested these in my own space. Some took ten minutes. A couple needed a drill and an hour. All stayed under twenty bucks each, most under ten.
1. Add a Second Hanging Rod
I hung a drop-down extender rod under my existing one. Short shirts and pants went on the lower level. Long dresses and coats kept the top.
The extender hooked on. No screws. Cost: about $15. Instant double hanging space. Floor stayed clearer because fewer things piled up.
2. Switch to Slim Velvet Hangers
I tossed every thick plastic hanger. Replaced them with a fifty-pack of slim velvet ones for $18.
Clothes stopped sliding off. The rod held nearly twice as many pieces. Visual clutter dropped hard. Matching hangers make the whole closet look intentional even when it is not perfect.
3. Install an Over-the-Door Shoe Organizer
Shoes lived on the floor until this. I bought a twenty-four pocket mesh over-the-door unit for $12.
Now every pair has a slot. I see them at a glance. Floor space opened up for a small stool. Bonus: the back of the door finally earned its keep.
4. Use Dollar-Store Wire Baskets
I grabbed four wire baskets for $1 each. Lined them up on the top shelf and one lower shelf.
Socks, belts, workout gear, and scarves each got a home. I labeled them with painter’s tape. Cheap. Effective. Easy to pull down and sort.
5. Mount Floating Shelves Above the Rod
I added two simple floating shelves from the hardware store. About $10 each including brackets.
One holds folded jeans. The other holds handbags upright with shelf dividers. Vertical space that used to sit empty now works overtime.
6. Add Tension Rods for Accessories
Two tension rods went in sideways between shelves. Cost: $8 total.
Scarves hang from one. Belts from the other. Lightweight items stay off hangers and off the floor. No holes in the wall. Perfect for renters.
7. Create DIY Drawer Dividers from Shoeboxes
I cut old shoeboxes to fit my shelf depth. Covered them in leftover contact paper.
Underwear, socks, and small accessories now sit in neat rows. Free. Custom. Better than most store-bought dividers I tried.
8. File-Fold Everything Possible
I stopped stacking t-shirts. Now I file-fold them like files in a drawer.
You see every color at once. Stacks stop toppling. I fit more into the same shelf real estate. This one costs nothing and feels like magic.
9. Keep Boots Upright with Pool Noodles
I cut a pool noodle lengthwise and stuffed the halves into tall boots. Cost: $3 for the noodle.
Boots stand tall. No creases. They take less floor space and look neater. Paper towel tubes work for shorter boots if you already have them.
10. Hang Handbags in Baskets or on Hooks
I mounted three simple hooks on the side wall for $6. Heavy bags hang there.
Lighter ones live in a hanging fabric basket I already owned. No more handbags on the floor getting scuffed. They stay shaped and easy to grab.
11. Store Off-Season Clothes in Clear Bins
I bought two large clear plastic bins with lids for $12 total on sale.
Sweaters and heavy coats go up high. I see what is inside without opening them. When the weather flips, the switch takes five minutes.
12. Add Shelf Dividers for Folded Stacks
Acrylic shelf dividers cost me $10 for a pack of four. They clip on.
Sweaters and jeans stay upright instead of collapsing into a messy pile. I can pull one without destroying the whole stack.
13. Use Shower Curtain Rings for Tank Tops and Scarves
I bought a pack of plastic shower rings for $3. Hooked them onto regular hangers.
Each ring holds one tank or scarf. Vertical storage on the rod. Instant access. Zero extra space used.
14. Build a Simple Shoe Shelf with Tension Rods
I placed two tension rods about six inches apart near the floor in one corner. Cost: already counted above.
Flats and sandals sit on the lower rod. Heels on the upper. Instant low-profile shoe rack without buying another unit.
15. Corral Jewelry and Small Stuff in Ice Cube Trays
I washed two old ice cube trays and set them on a shelf. Free.
Rings, earrings, and tiny clips each get a compartment. No more digging through a tangled jewelry box. FYI, this works better than most fancy organizers I owned before.
16. Label Everything Ruthlessly
I used a cheap label maker I already had and some washi tape. Total extra cost: zero.
Every bin, basket, and shelf section got a clear label. “Workout,” “Everyday Tees,” “Scarves.” Guests can put things back. I can too when I am half-asleep.
How I Actually Put These Ideas Together Without Losing My Mind
I started on a Saturday morning. First I emptied everything onto the bed. Then I sorted into four piles: keep, donate, trash, relocate.
Keep pile got ruthless. If I had not worn it in a year, it left. That alone freed a third of the space.
Next came the rod extender and new hangers. Biggest visual win right away.
Shelves and baskets followed. Door organizer last. I worked in zones so the closet never looked worse mid-project.
Total time: about four hours including a coffee break and one trip to the store for the missing shelf brackets.
I live with the results every day. Mornings move faster. I actually wear more of my clothes because I can see them. The space feels bigger even though the walls did not move.
Common Mistakes I Made Before These Ideas Worked
I bought pretty baskets that did not fit the shelf depth. Waste of money. Measure first. Always.
I tried to keep every sentimental shirt. The closet stayed crowded. Purging is the real first step.
I ignored the door and the high shelves. Those two areas give the most free real estate in a small walk-in.
I mixed seasons. Winter coats next to summer tanks made everything hard to reach. Seasonal rotation is non-negotiable for tiny spaces.
Budget Breakdown for the Whole Project
Here is exactly what I spent:
- Rod extender: $15
- Slim hangers (50-pack): $18
- Over-the-door shoe organizer: $12
- Wire baskets (4): $4
- Floating shelves and brackets: $20
- Tension rods (4): $12
- Shelf dividers: $10
- Clear bins (2): $12
- Pool noodle: $3
- Hooks: $6
Grand total: $112 if you count everything new. I already owned some of the bins and the label maker, so my actual outlay stayed under $80. Dollar-store runs and free repurposing kept costs low.
You can start smaller. Pick the three ideas that solve your biggest pain points first. Expand later.
Frequently Asked Questions
What are the best 16 small walk in closet organization diy budget storage ideas for true beginners? Start with slim hangers, a second rod, and an over-the-door shoe organizer. Those three deliver the biggest change for the least money and effort. The rest build on that foundation.
How much should I expect to spend on a full small walk-in closet makeover? Most people finish under $100 if they mix dollar-store finds with a few targeted buys. My project landed around $80 after using what I already owned.
Do these DIY storage ideas work in a rental? Yes. Tension rods, over-the-door organizers, freestanding bins, and command hooks leave no permanent marks. I did the whole thing in a rental without issues.
How often do I need to reorganize after the initial setup? I do a quick fifteen-minute reset every two weeks and a full seasonal swap twice a year. Maintenance stays easy once the systems exist.
Can I mix these ideas with a few store-bought pieces later? Absolutely. I started pure DIY and later added one better shoe rack when my budget allowed. The foundation stays the same.
Final Thoughts from My Closet Floor
I still catch myself smiling when I open the door. The space works hard for me instead of against me. Clothes stay wrinkle-free. Shoes pair up. Accessories stop vanishing.
You already know what frustrates you most. Pick one idea from this list and try it this weekend. Then another. Momentum builds fast.
My closet is small. It always will be. But it no longer feels that way. Yours can do the same. Grab a measuring tape and start.