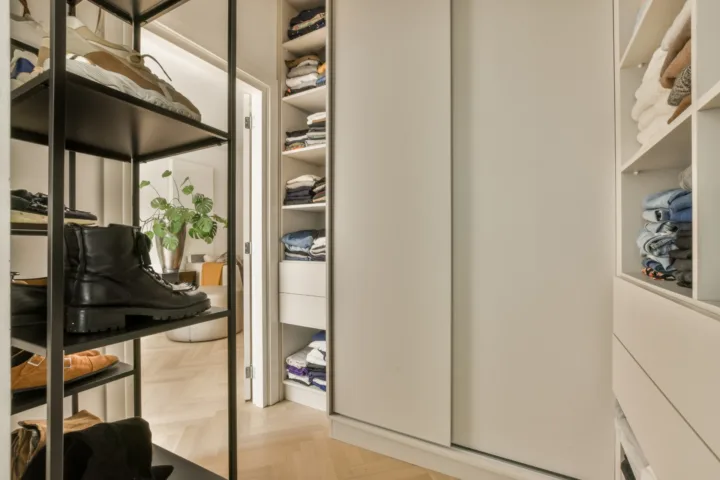
I spent years opening that door and feeling defeated. Towels slid sideways. Sheet sets vanished into the back. Random bottles of shampoo rolled out every time I grabbed a washcloth. My 16 lining closet organization ideas fixed all of it. I share them here because the same mess hit me hard, and these moves turned the whole thing around without fancy systems or big spending.
Honestly? I almost gave up on the space. See, the closet sits right off the hallway. Everyone uses it. That meant constant chaos. I decided to treat it like a personal project instead of another chore. What follows comes straight from the afternoons I spent emptying shelves, measuring, and testing what actually stayed neat.
Why the Chaos Kept Winning
I used to stack everything by category and call it done. Sheets on one shelf. Towels on another. That approach failed fast. Frequency of use mattered more than neat labels. Daily bath towels ended up buried under guest pillows. Heavy blankets crushed the lighter stuff below them. Air barely moved, so musty smells showed up after a week.
I changed the question I asked myself. It stopped being “How do I make this look perfect?” Perfect never lasts. The better question became “What keeps this working when three people grab things in a hurry?” That shift guided every choice below.
16 Lining Closet Organization Ideas That Changed How I Store Everything
I list these in the order I tackled them. Some take ten minutes. Others need a full afternoon. All of them use what most people already own or can grab at a regular store.
1. Empty the Entire Closet First
I pulled every towel, sheet, bottle, and spare pillow out. The empty shelves forced me to see the real volume. I sorted into three piles: keep, donate, trash. Old stained towels went to the animal shelter. Thin sheets went in the trash. I kept two full sets of sheets per bed and three towels per person. Anything beyond that just created bulk.
2. Wipe and Line the Shelves
Bare shelves collect dust and snag fabric. I wiped them with a simple multi-surface cleaner, let them dry, then added plain shelf liner. The liner stops bins from sliding and protects the wood. FYI, contact paper works if you want a pattern without permanent wallpaper.
3. Zone by How Often You Reach for Things
Eye-level shelves got the daily players: current bath towels and the sheet sets I change weekly. Top shelves took seasonal comforters and guest pillows. Bottom shelves held the heavy stuff like extra blankets and bulk toiletries. This one change alone cut the daily scramble in half.
4. Bundle Every Sheet Set Inside Its Own Pillowcase
I fold the fitted sheet, flat sheet, and one pillowcase into a tight rectangle. Then I slide the whole stack into the matching second pillowcase. One grab gives me the complete set. No more hunting for the missing fitted sheet at midnight.
5. Add Simple Shelf Dividers
Acrylic or wire dividers clip onto the shelf edges. I place them between towel stacks so nothing topples when I pull one out. The stacks stay upright even if someone grabs from the middle. I bought a pack of four and never needed more.
6. Switch to Bins for Categories
One bin for washcloths. One for hand towels. One for travel toiletries. Clear plastic or fabric both work. I measure the shelf depth first so the bins sit flush. Labeled bins mean anyone in the house can put things back correctly.
7. Roll the Smaller Linens
Washcloths and hand towels roll tighter than they fold. I stand the rolls in a shallow bin. You see every one at a glance. No collapsing piles. Bath towels still fold because they take more space when rolled, but the small ones love this method.
8. Use the Back of the Door
An over-the-door organizer holds extra shampoo, the ironing board, or a couple of guest towels. Dead space becomes useful space. I chose one with clear pockets so I can see what sits inside without opening every flap.
9. Keep Only Bone-Dry Items
Damp fabric creates must. I wait until everything feels completely dry before it goes back in. An open box of baking soda on the floor handles leftover odors. Cedar blocks discourage moths. I refresh the cedar every few months by sanding the surface lightly.
10. Limit Stack Height
I never stack more than three or four folded items high. Taller towers tip. Heavier pieces sit at the bottom of each stack. This rule sounds small. It stops the cascade that used to happen every time I pulled one towel.
11. Install a Cheap Shelf Riser
Tall shelves waste vertical room. A simple riser splits one shelf into two levels. Hand towels go on the lower half. Washcloths sit above. Instant extra surface without drilling new holes.
12. Match the Fold Width to the Shelf Depth
I fold towels and sheets so the finished rectangle sits just short of the shelf edge. Nothing hangs over. Nothing gets crushed against the back wall. Uniform folds also make the whole closet look intentional instead of random.
13. Create a Guest-Ready Spot
One labeled bin holds a complete guest set: two towels, two washcloths, and a spare sheet set. When company arrives I hand them the bin. No digging through everyday piles. The system stays intact for regular use.
14. Add a Folding Step Stool Nearby
Top shelves stay useful only if I can reach them safely. A slim stool folds flat against the wall outside the closet. I use it for seasonal swaps twice a year. No more stretching or climbing on the lower shelves.
15. Stick to One Color Family for Bins
White, gray, and natural wicker. That’s it. Matching containers calm the visual noise. Labels do the real work of identification. The limited palette keeps the closet from feeling busy even when it holds a lot.
16. Leave Breathing Room on Purpose
I stop filling every inch. Open space lets air move and makes the next grab easier. If a shelf looks packed, I purge again. Overfilling undoes every other idea on this list.
How These Moves Played Out in Real Life
The first week after I finished, my partner opened the door and actually found the right sheet set without asking me. That never happened before. The kids stopped leaving towels on the floor because the rolled ones were easy to grab and put back. I noticed less laundry overall because we stopped losing pieces in the back of the shelves.
IMO the pillowcase trick and the frequency zones delivered the biggest wins. Everything else supports those two. The dividers and bins keep the system from sliding back into chaos when life gets busy. I still do a five-minute reset every Sunday. That tiny habit keeps the whole closet working months later.
I tested a few things that failed. Fancy acrylic drawers looked great in photos but cost too much for the space I had. Wire baskets snagged the towels. Vacuum bags for seasonal items worked under the bed better than inside the closet itself. I stick with what survives real daily use.
Frequently Asked Questions
How many of the 16 lining closet organization ideas do I need to try at once? Start with emptying, zoning, and the pillowcase bundles. Those three create the biggest shift. Add bins and dividers next if the stacks still tip.
What if my closet is super deep? Pull-out bins solve the back-of-shelf problem. I keep daily items in the front half of each bin and seasonal ones behind them. One slide brings everything into reach.
Do I really need to replace towels every two or three years? Yes if they stop absorbing water well. Thin, scratchy towels just take up space. I donate the old ones and buy a fresh set when the absorbency fades.
Can these ideas work in a tiny hallway closet? Absolutely. Focus on door storage, rolled washcloths, and strict purging. I helped a friend with a closet half the size of mine. The same zoning rules still applied.
How often should I reorganize? A full reset once a season keeps it solid. A quick weekly tidy of five minutes handles the daily drift. Consistency beats perfection every time.
The Quiet Win After the Work
I open that door now and feel calm instead of annoyed. Everything has a clear home. The system survives busy weeks and guest visits. These 16 lining closet organization ideas did not require a renovation or a big budget. They required one afternoon of honest sorting and a few simple tools.
You already own most of what you need. Grab a measuring tape, some bins, and a free hour. Start with the empty shelves. The rest follows. Your future self will thank you the next time you need a clean towel in a hurry.