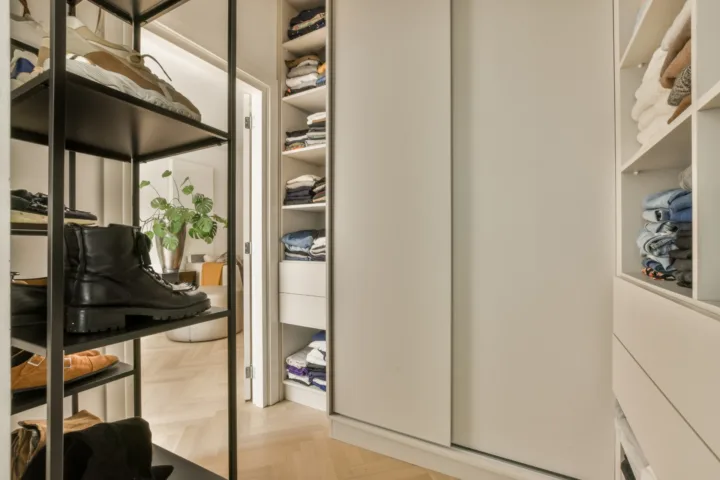
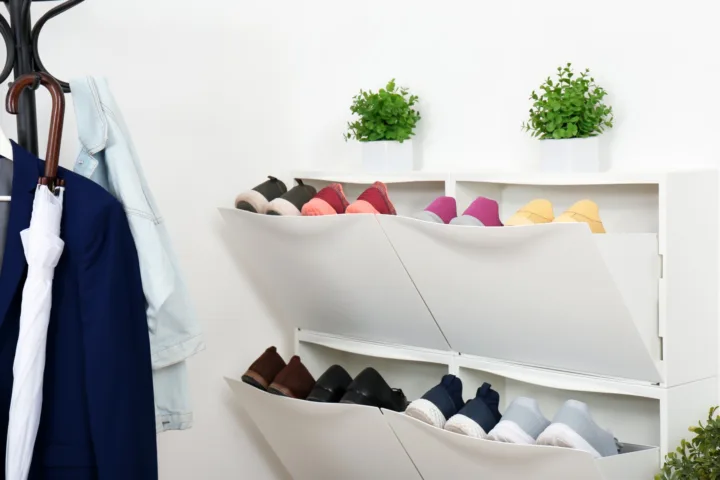
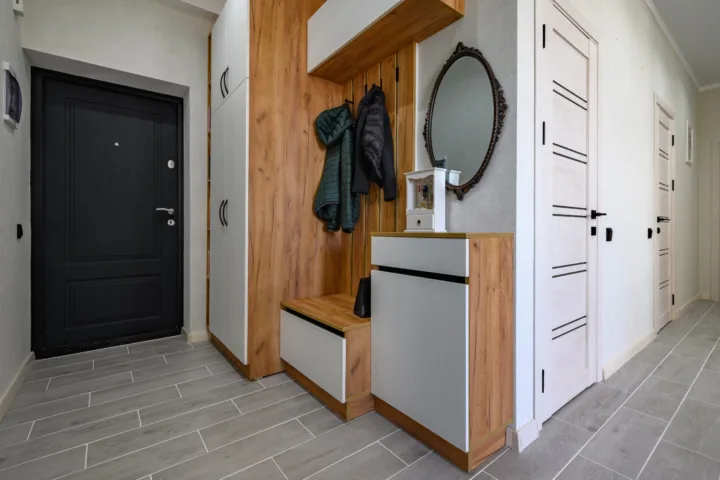
I spent years staring at a closet that looked like it had lost a fight with a laundry basket. Clothes piled up. Shoes vanished. Belts tangled into knots I could never undo. I finally decided enough was enough and started testing 16 cheap closet organization ideas that fit my tight budget and even tighter space. The results surprised me. My mornings got easier. I stopped buying duplicates of things I already owned. And I did it without spending a fortune or calling in a contractor.
Honestly? I felt defeated at first. The mess felt permanent. Then I shifted my approach. I stopped chasing perfect systems and started with small, cheap changes that actually stuck.
Why Cheap Closet Fixes Beat Expensive Systems
I used to think a custom closet was the only real solution. Big mistake. Those setups cost hundreds or thousands. Most people never finish them. I learned that the real problem was not the size of my closet. It was how I used the space I already had.
See, most of us waste vertical room. We ignore the back of the door. We hang clothes on thick hangers that eat up rod space. We leave the floor as a dumping ground. Fix those habits with inexpensive tools and the whole closet changes.
I tested everything below in my own reach-in closet. Some ideas cost under five dollars. A few hit twenty or thirty. All of them worked better than the fancy organizers I once bought and never used.
The 16 Cheap Closet Organization Ideas I Actually Use
I broke these into practical groups so you can pick what fits your space right now. Start with the free steps. Then add the low-cost tools that make the biggest difference.
Start With the Free Stuff
1. Pull everything out and purge hard. I dragged every single item onto my bed. It looked worse before it looked better. I made three piles: keep, donate, trash. Anything I had not worn in a year went out. Seasonal pieces got a pass if I still liked them. This one step alone freed up almost a third of my rod space. Do not skip it. Organizing clutter just rearranges the problem.
2. Sort by category before you put anything back. I grouped shirts with shirts, pants with pants, and shoes with shoes. Suddenly I could see what I actually owned. I found three black tank tops I forgot about. Sorting stops the random grabbing that creates new piles the next day.
Hanging Space Wins
3. Switch to slim velvet hangers. Thick plastic hangers steal space. Velvet ones are thin and grippy. I bought a pack of fifty for around fifteen dollars. My rod suddenly held almost twice as many pieces. Clothes stopped sliding off onto the floor. This is the single change that delivered the fastest visible result.
4. Add a second hanging rod. Most closets leave the lower half empty. I hung a simple adjustable rod about forty inches below the top one. Shirts went up top. Pants and skirts went below. Instant double capacity. The extender cost less than twenty dollars and installed in minutes with no tools beyond a screwdriver.
5. Use cascading hangers for bulkier items. Scarves, belts, and tank tops used to eat whole sections of my rod. Cascading hooks let me hang multiple pieces in the footprint of one hanger. A pack of twenty ran about eight dollars. I now keep them on one end of the rod so they stay out of the way of daily clothes.
6. Hang a fabric shelf organizer from the rod. This created instant cubbies for folded sweaters and jeans. The one I use has five shelves and hooks onto the existing rod. It cost about fifteen dollars. Folded items stay visible and stop toppling into a messy pile.
Door and Wall Space
7. Install an over-the-door shoe organizer. My floor used to be a graveyard of sneakers and sandals. A clear-pocket over-the-door unit holds twenty-four to thirty-six pairs and keeps them off the floor completely. Mine cost around fifteen dollars. I can see every pair at a glance now. Bonus: the bottom pockets hold socks and small accessories.
8. Add over-the-door hooks for bags and robes. A simple strip with four or six hooks hangs over the door and holds purses, backpacks, and the robe I wear after showers. Eight to twelve dollars. Nothing falls on the floor when I open the door anymore.
9. Mount command hooks inside the door or on a side wall. I stuck a few strong adhesive hooks at different heights. Belts, necklaces, and baseball caps live there now. No drilling. No holes. Total cost under ten dollars for a multi-pack. They hold more weight than I expected.
Shelves and Floor Solutions
10. Add shelf dividers. Sweater stacks used to collapse the second I pulled one out. Simple plastic or metal dividers that slide onto the shelf keep everything upright. A set of four costs about ten dollars. I use them for jeans and workout clothes too.
11. Bring in clear bins and baskets. Opaque boxes hide what is inside. Clear ones let me see everything. I use them on the top shelf for seasonal items and on lower shelves for accessories. Labels help. A few basic bins from the dollar store or a big-box store keep the cost low. I decorate some with leftover wrapping paper for a cleaner look.
12. Use a slim three-tier shoe rack on the floor. If I still need floor space after the door organizer, a narrow resin or metal rack holds nine to twelve pairs in the footprint of three pairs lying flat. Around twenty dollars. It stays sturdy even when I stack heavier boots on the bottom.
13. Try tension rods for extra shoe or accessory storage. In a narrow side section of my closet I installed two or three tension rods vertically. Heels and flats rest on them. No drilling. Under ten dollars total. This trick works great for kids’ shoes too.
Small Items and Finishing Touches
14. Create DIY drawer dividers from cardboard or cheap trays. My sock and underwear drawer was chaos. I cut cereal boxes into dividers and wrapped them in leftover contact paper. Free. Or grab a set of expandable plastic dividers for under fifteen dollars. Either way, everything stays in its lane.
15. Use multi-pant hangers or S-hooks for jeans. Instead of folding every pair, I hang several pairs on one multi-tier hanger. Or I loop S-hooks through belt loops and hang them from the rod. Both options free shelf space and keep denim crease-free.
16. Label everything and rotate seasons. I bought a cheap label maker and marked every bin. Winter coats go into vacuum bags or under-bed storage when spring arrives. The labels stop me from digging through the wrong container. Rotation keeps the daily closet lean.
How I Keep the System Working Long-Term
I do a five-minute reset every Sunday night. Anything that does not belong gets put back. I also follow a simple rule: one in, one out. New shirt means an old one leaves. This prevents the slow creep of clutter that used to defeat me.
Honestly? The biggest shift was mental. I stopped treating organization like a one-time project. It became a habit. Messy days still happen. The system just makes recovery fast.
I mixed bought pieces with free or nearly free hacks. Total spend for everything I listed stayed well under one hundred and fifty dollars. Compare that to a custom closet quote I once received. Night and day.
Real Results From My Own Closet
Before these changes I could not close the doors without shoving. Afterward I had empty space on the rod for the first time in years. I stopped buying extras because I could finally see what I owned. Getting dressed took less time. I even found a few favorite pieces I thought I had lost.
The over-the-door shoe organizer alone changed my mornings. No more hunting under the bed. The slim hangers and second rod gave me breathing room I did not know was possible. See, the space was always there. I just needed cheaper ways to claim it.
Frequently Asked Questions
What are the best 16 cheap closet organization ideas for a small reach-in closet? The ones that worked hardest for me were slim velvet hangers, a second hanging rod, an over-the-door shoe organizer, shelf dividers, and clear bins. Start with the purge and sorting steps. Those two free moves make every other idea more effective.
How much should I expect to spend on cheap closet organization? You can transform a basic closet for under one hundred dollars if you mix free habits with targeted buys. My biggest single purchase was the second rod and hangers. Everything else stayed in the ten-to-twenty-dollar range.
Do I need tools or DIY skills for these ideas? Most require zero tools. Command hooks, tension rods, over-the-door units, and fabric organizers install by hand. Only the second rod or permanent shelves need a screwdriver or drill. I kept everything renter-friendly.
How often should I reorganize after setting up these systems? I do a quick weekly reset and a deeper seasonal swap twice a year. That keeps the system from sliding back into chaos without turning it into a full weekend project.
Can these ideas work in a shared closet? Yes. Assign zones by category instead of by person. One side for shirts, the other for pants. Shared bins for accessories. The second rod and clear labels keep arguments to a minimum.
I still catch myself smiling when I open the doors now. The closet no longer feels like a battle. It feels like a tool that works for me. Grab a few of these ideas this weekend. Start with the purge. Add one or two cheap tools. Watch the space open up. You might surprise yourself with how little money it takes to feel in control again.