
I spent years staring at those sagging wire shelves in my closet and feeling defeated. Clothes slid through the gaps. Shoes piled up on the floor. Everything looked temporary and messy no matter how hard I tried. Then I collected 19 wire rack closet organization ideas that finally worked for me. These are the exact approaches I use now. They turn basic wire systems into something I can live with every single day.
Honestly? The shift started when I stopped treating the wire rack like a permanent problem and started treating it like a flexible tool.
Why Wire Racks Drove Me Crazy at First
Wire racks feel cheap at first glance. Items slip. Dust settles. Nothing stays put. I hated the look of them in my old apartment. Stacks of sweaters toppled sideways. Socks vanished into the floor below. I almost gave up and bought a whole new system.
See, the real issue was not the wire itself. The problem was how I used it. Once I added the right supports and containers, the same shelves became useful. Air flows better through wire than solid wood. That keeps clothes fresher. The open design makes everything visible. I just needed the right add-ons.
I tested these ideas over two different apartments and one small walk-in. Some cost almost nothing. Others needed a short trip to the hardware store. All of them stick because they match how I actually live.
19 Wire Rack Closet Organization Ideas I Rely On
Here are the nineteen that earned a permanent spot in my routine. I group them so you can grab what fits your space right away.
Bins and Containers That Stop the Sliding
1. Matching fabric bins on every open shelf I line the middle shelves with identical fabric bins. They catch small items that would otherwise fall through the wire. I pull one out when I need socks or scarves. The uniform look calms the whole closet. Choose bins with handles so you can lift them down without dumping the contents.
2. Clear plastic bins for seasonal overflow Top shelves hold clear bins filled with off-season clothes. I see exactly what is inside without opening them. The rigid sides keep everything from sagging through the wires. I stack two high when the ceiling allows it.
3. Open-front bins for daily grab items These sit at eye level. I toss in hats, gloves, or workout clothes. No lids means I reach in fast. The open design still hides the wire beneath.
Dividers and Supports That Keep Stacks Upright
4. Clip-on wire shelf dividers These snap right onto the wires. I place them every twelve inches on sweater shelves. Stacks stay vertical instead of leaning into each other. They cost little and install in seconds. I use the taller ones for jeans and the shorter ones for tees.
5. Shelf liners cut to size I lay thin plastic or fabric liners across the wire. Small items no longer drop through. The liners still let air move. I cut them with scissors so they fit edge to edge.
6. Vertical file-style dividers for bags I stand a few stiff dividers upright on a lower shelf. Handbags sit between them like files in a cabinet. They stay upright and easy to pull.
Double the Hanging Space Without New Hardware
7. Second hanging rod under the main one I hang a second rod from the existing shelf supports. Shirts go on top. Pants hang below. The vertical gap shrinks and I gain almost twice the hanging length. Measure the space first so longer dresses still fit on one side.
8. Adjustable tension rods between walls In deeper closets I add a tension rod parallel to the main rod. It holds extra shirts or scarves. No drilling required. I adjust the height whenever the seasons change.
9. Cascading hanger clips I clip these onto the main rod. Each one holds three or four hangers vertically. Jackets take less horizontal space. I keep the clips for items I wear less often.
Shoe Solutions That Clear the Floor
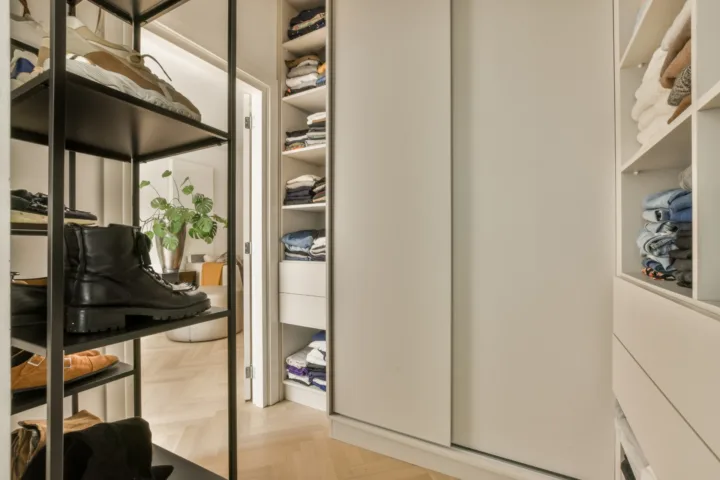
10. Angled wire shoe shelves I mount these under the lowest hanging rod. Shoes rest at a slight tilt so I see the pairs. Dust stays off the soles. The open wire matches the rest of the system.
11. Stackable shoe towers on the floor When the closet floor is free I place two or three towers side by side. Each holds six to eight pairs. I keep everyday sneakers at the bottom for quick grabs.
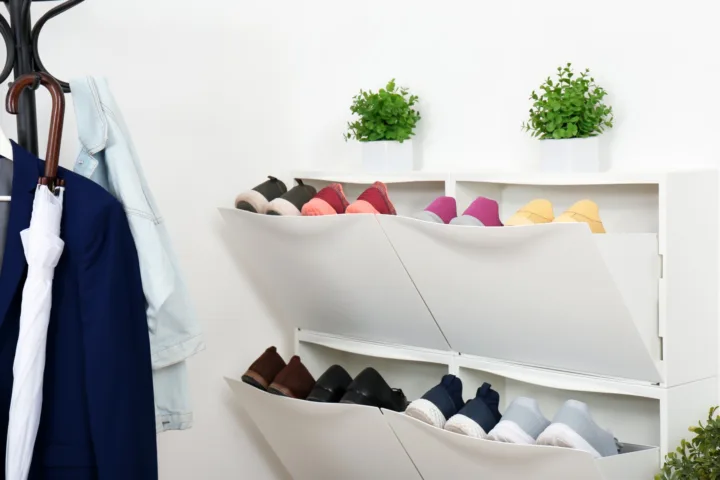
12. Drop-front shoe boxes on high shelves These sit on the top wire shelf. I label the front and pull the lid down when I need that pair. They keep formal shoes protected and out of the way.
Hooks, Racks, and Small-Item Holds
13. Over-the-shelf hooks for belts and ties These loop over the front wire and hang below. I assign one hook per category. Belts no longer tangle on a single hanger.
14. Magnetic or clip-on accessory racks I attach a small rack to the side of a shelf support. Jewelry and scarves hang there. Everything stays visible and off the main shelves.
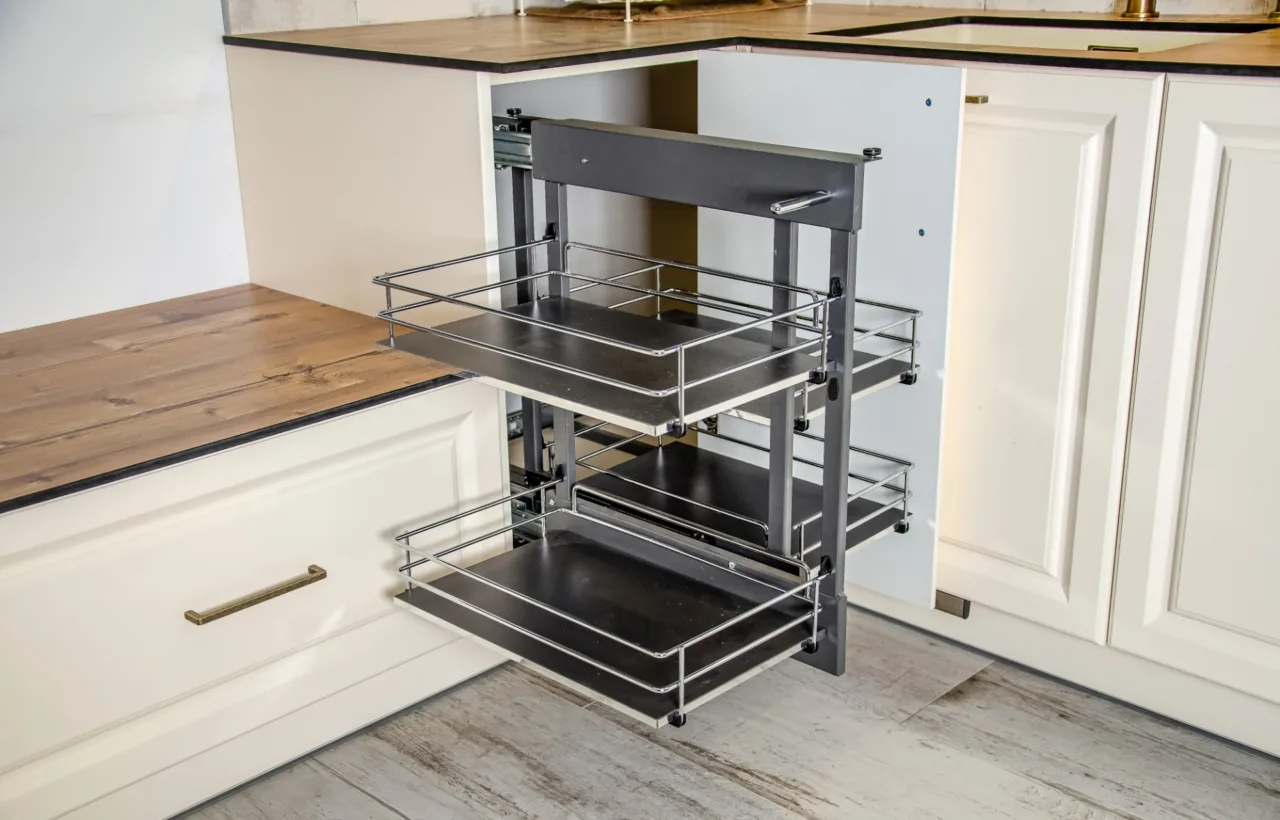
15. Under-shelf baskets that slide These hang from the underside of a wire shelf. I store socks or underwear in them. Sliding them out feels like opening a drawer.
Covers and Visual Upgrades
16. Foam board covers wrapped in contact paper I cut foam board to the exact shelf size and wrap it in wood-look paper. The wire disappears. The surface becomes solid for stacking. It takes an afternoon and looks intentional.
17. Wooden shelf fronts that clip on Thicker wood strips attach to the front edge. They hide the wire pattern and give a built-in feel. I stain them to match my room.
Freestanding and Extra Vertical Moves
18. Freestanding wire unit inside the closet I rolled a small freestanding wire rack into the empty side of my closet. It adds three extra shelves and two short rods. No wall damage. I move it when I clean.
19. Ceiling-height stackable cube shelves on top I place cube organizers on the highest wire shelf. They reach toward the ceiling and hold bags or bins. The cubes keep weight distributed so the wire does not bow.
How I Put These Ideas Together in One Closet
I start with a full empty-out. Everything leaves the closet for one afternoon. I wipe the wires and check the wall anchors. Then I add the second hanging rod first because it changes the whole layout. Next come the clip-on dividers and liners. Bins fill the shelves after that. Shoes go last so I can see the floor space I just freed.
The order matters. If I add bins before the dividers, the stacks still fall. If I cover the shelves too early, the clips will not grip. I learned that the hard way.
Budget stays reasonable. Most of these cost under twenty dollars each. The freestanding unit was the biggest single purchase and still less than a custom system. I buy matching sets when possible because the visual calm lasts longer than mixed colors.
Common Mistakes I Made and Fixed
I used to overload the top shelf. Wire bends under too much weight. Now I keep heavy items lower and use the top only for light seasonal bins. I also ignored the floor. Once the shoes left the floor the whole closet felt larger.
Another early error: buying random bins in different sizes. They looked chaotic. Matching ones fixed that instantly. FYI, the clear ones show dirt faster so I wipe them every few months.
Frequently Asked Questions
How do I start with 19 wire rack closet organization ideas if my budget is tight? Pick the free or low-cost ones first. Clip-on dividers, tension rods, and basic fabric bins cost the least and deliver the biggest change right away.
Will these ideas work in a tiny reach-in closet? Yes. Focus on double rods, under-shelf baskets, and floor shoe towers. They use vertical space instead of width.
Do I need special tools to install most of these? No. Most clip, hang, or sit in place. Only the permanent second rod and freestanding unit need basic measuring and a screwdriver.
How often should I reorganize after trying these wire rack closet organization ideas? I do a quick reset every season when I swap clothes. Full overhauls happen once a year or when something starts sliding again.
Can renters use all nineteen without damage? Almost all of them. Stick to freestanding units, tension rods, clip-ons, and bins. Skip anything that screws into the wall if your lease forbids it.
I still open my closet and feel a quiet satisfaction. The wire is still there, but it no longer fights me. These nineteen ideas turned a source of daily frustration into a space that works. Start with two or three that match your biggest pain point. Build from there. The difference shows up fast.